Zoho CRM
Zoho CRM is a customer relationship management (CRM) platform that helps businesses manage and enhance their interactions with customers, optimize sales processes, and strengthen marketing efforts. It offers tools for managing leads, contacts, sales pipelines, and customer communication across multiple channels. Zoho CRM includes features like email marketing, workflow automation, analytics, reporting, and integrations with various third-party applications. It enables businesses to automate repetitive tasks, track customer interactions, and gain insights into sales performance and customer behavior. Zoho CRM is suitable for businesses of all sizes and helps them improve customer relationships, increase sales productivity, and make data-driven decisions.
Sending SMS in Zoho CRM
In this documentation, we explain step by step how to send SMS from Zoho CRM via seven. The setup requires no programming skills and takes only a few minutes.
Step 1: Creating a Workflow Rule
First, we need to create a new workflow rule.
A workflow is a sequence of actions triggered by a predefined event.
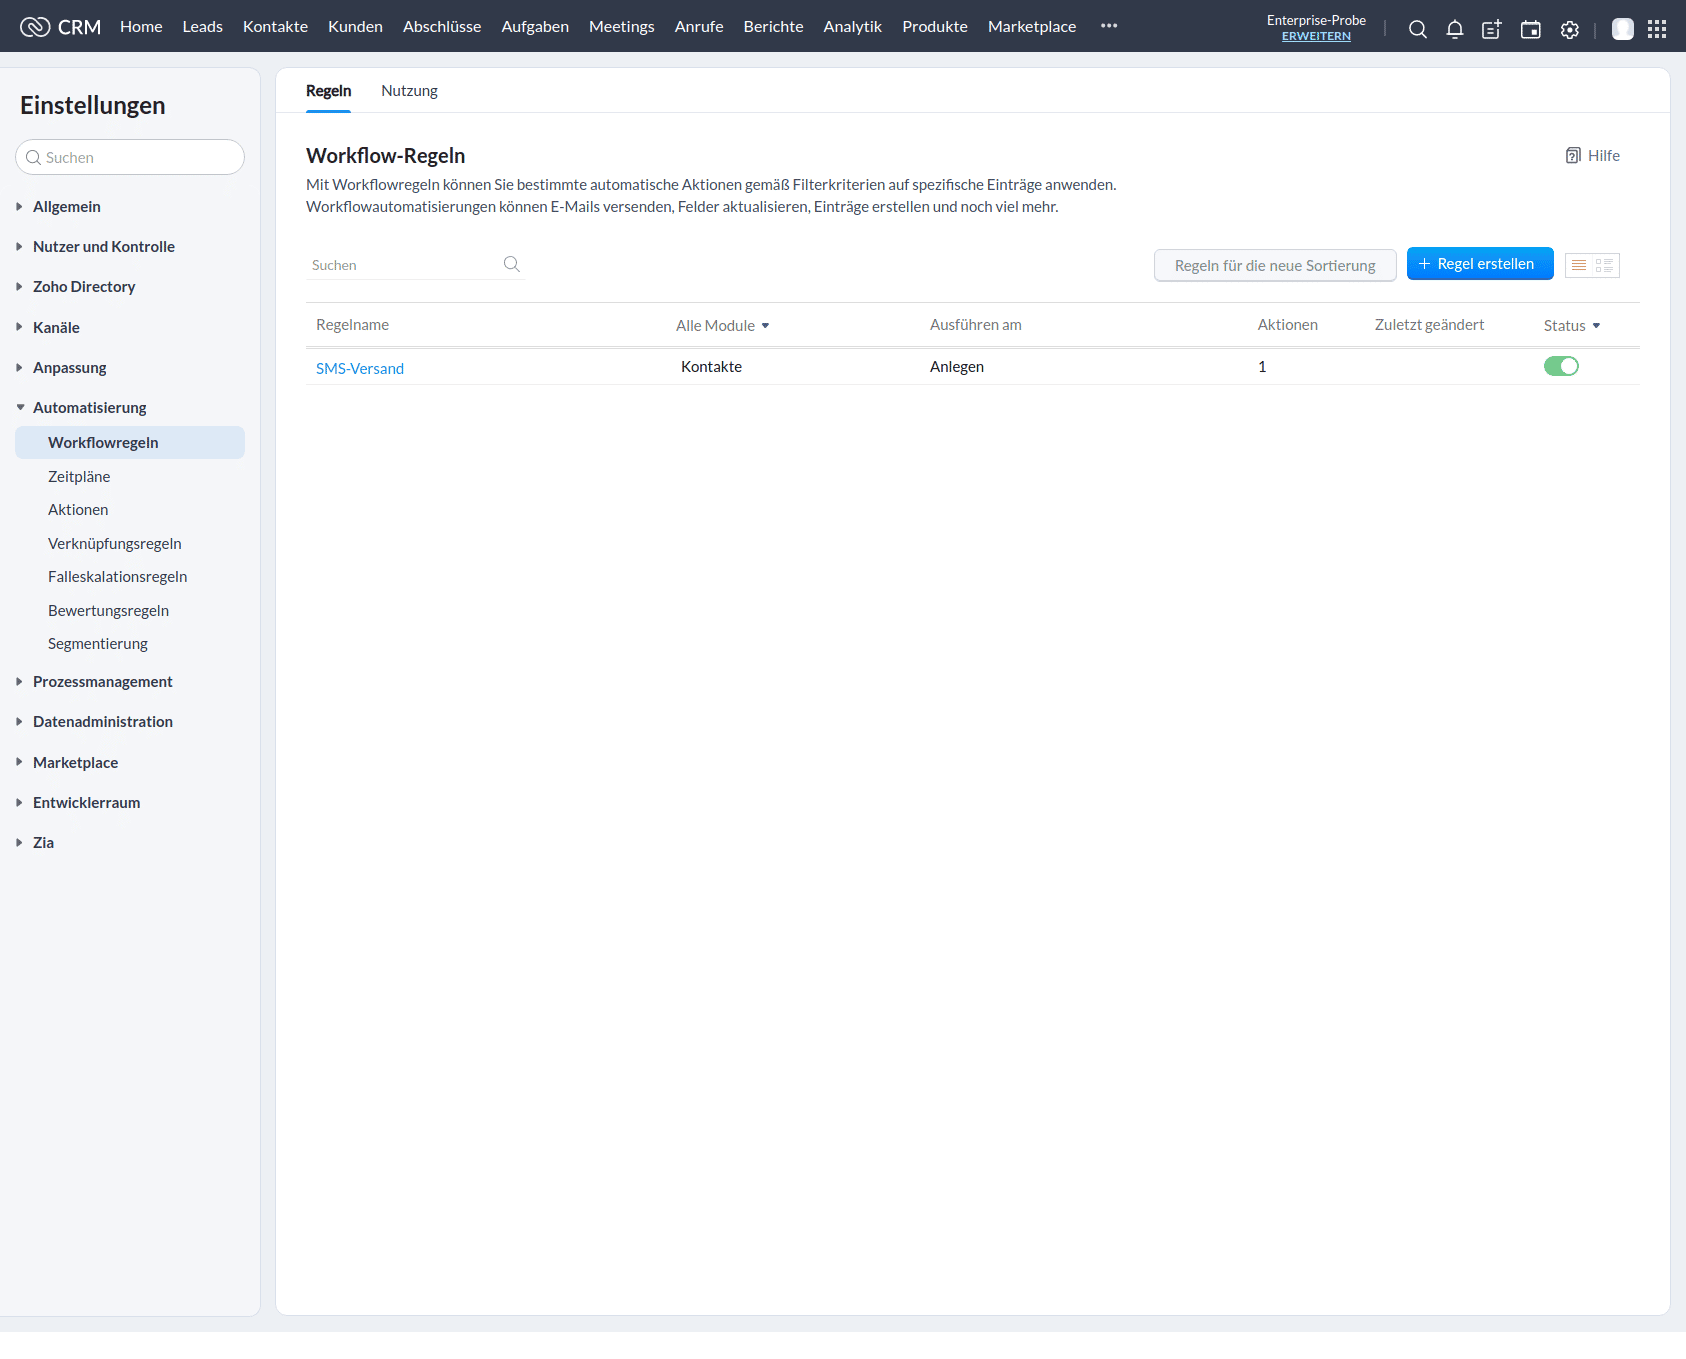
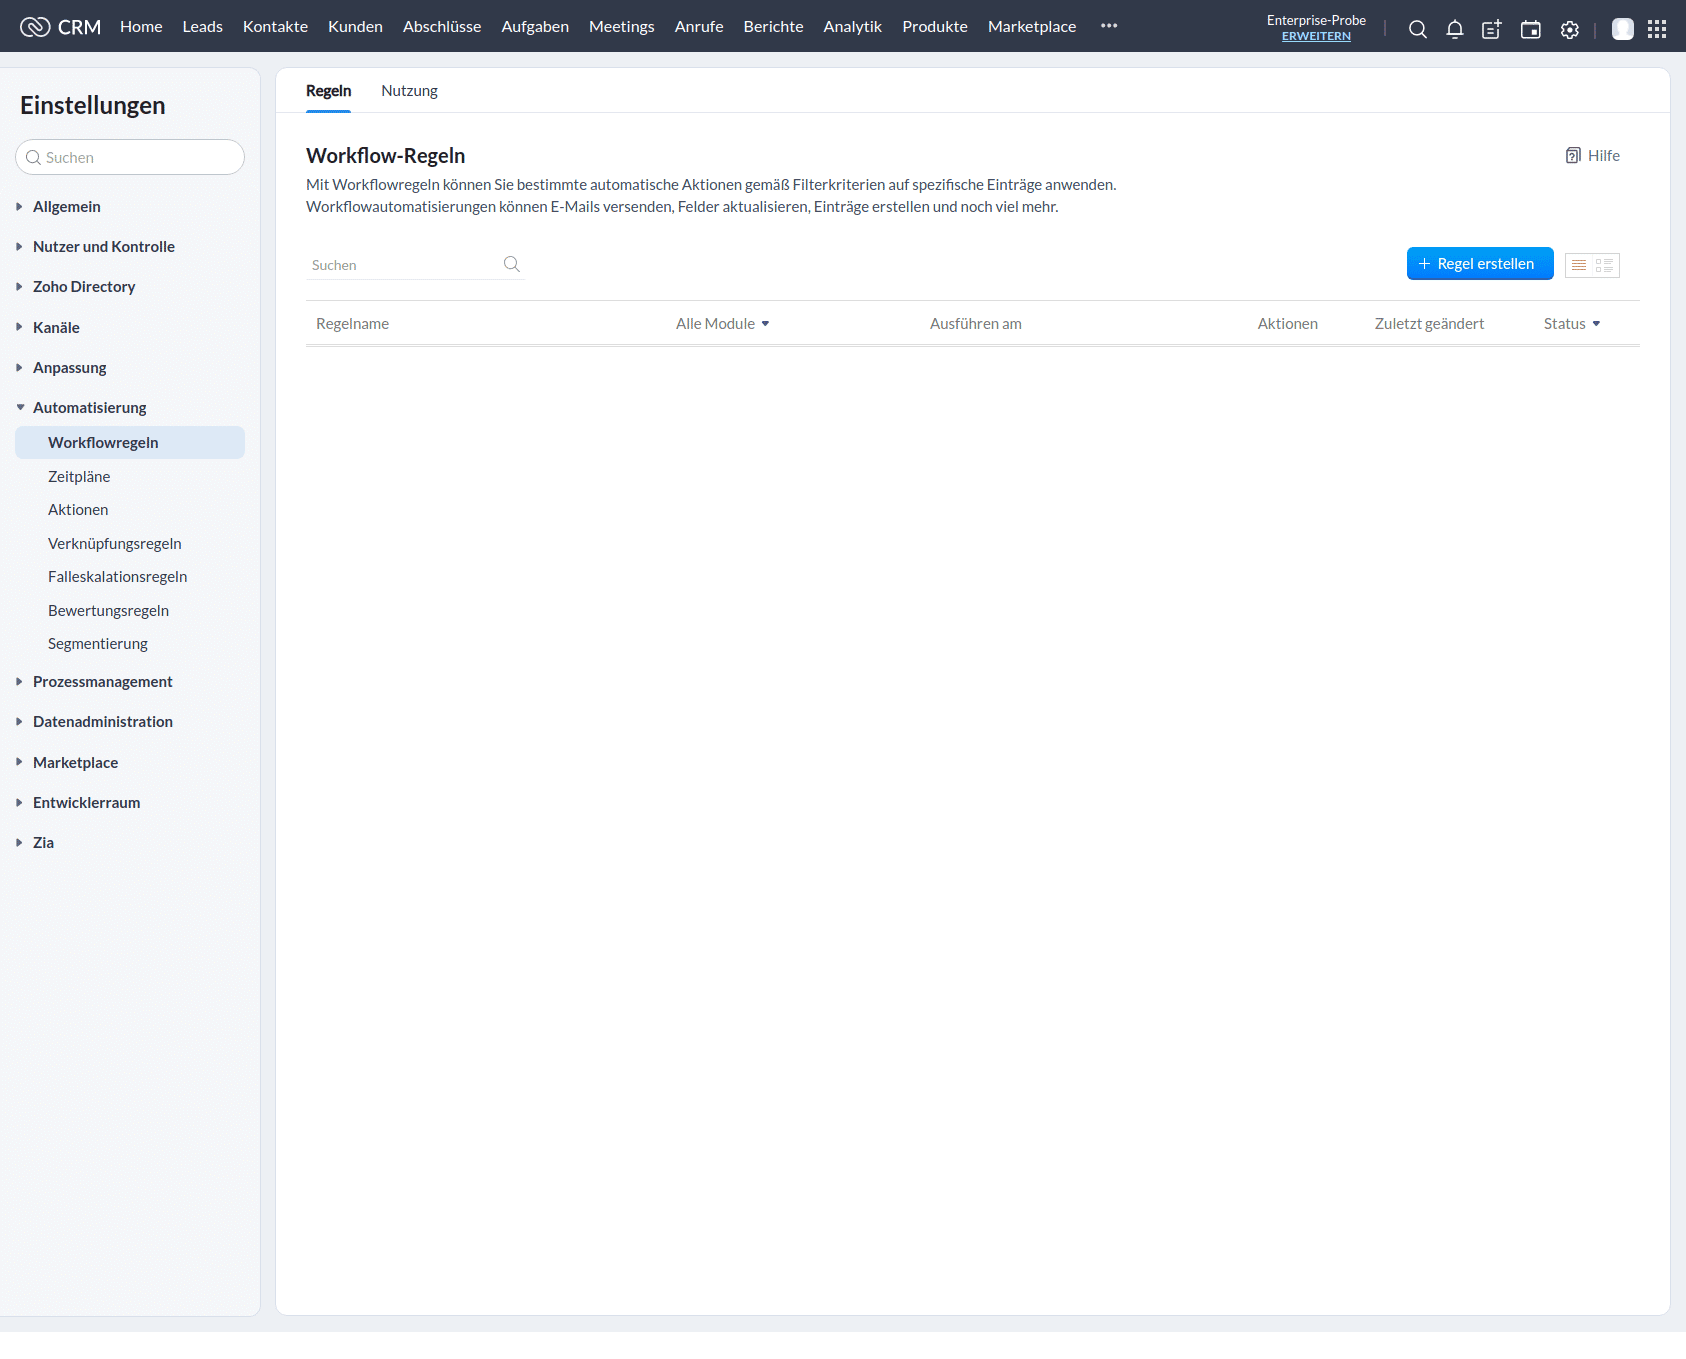
After logging into Zoho CRM, navigate to Settings → Automation → Workflow Rule.
Clicking the blue Create Rule button opens the following screen:
Step 2: Describing a Workflow Rule
Zoho CRM offers a variety of different modules depending on the license used and/or assigned user rights. All modules trigger events after which we can send SMS. In this example, we limit ourselves to sending when contacts are created. However, sending on other events is very similar. If you are unsure, we are always available via email.
Modules
The following modules will be available from September 24, 2021:
- Leads
- Contacts
- Customers
- Terminations
- Tasks
- Meetings
- Calls
- Products
- Offers
- Bookings
- Orders
- Bills
- Campaigns
- Vendors
- Price Books
- Feedback
- Solutions
- Visits
- E-Mails
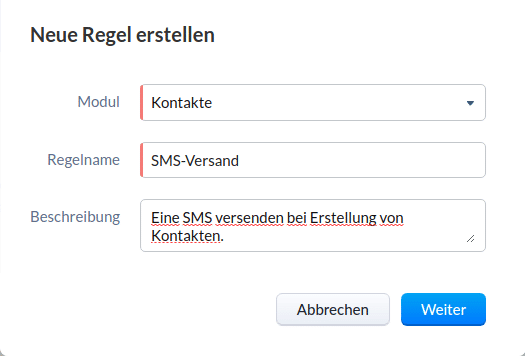
Create rule
Rule name
We give the rule a descriptive name. This is mainly for assignment purposes. It is especially helpful when we have several rules.
Description
We describe our rule by entering the actual function of the rule. While this field is not required, it is extremely helpful.
Step 3: Set time for execution of rule
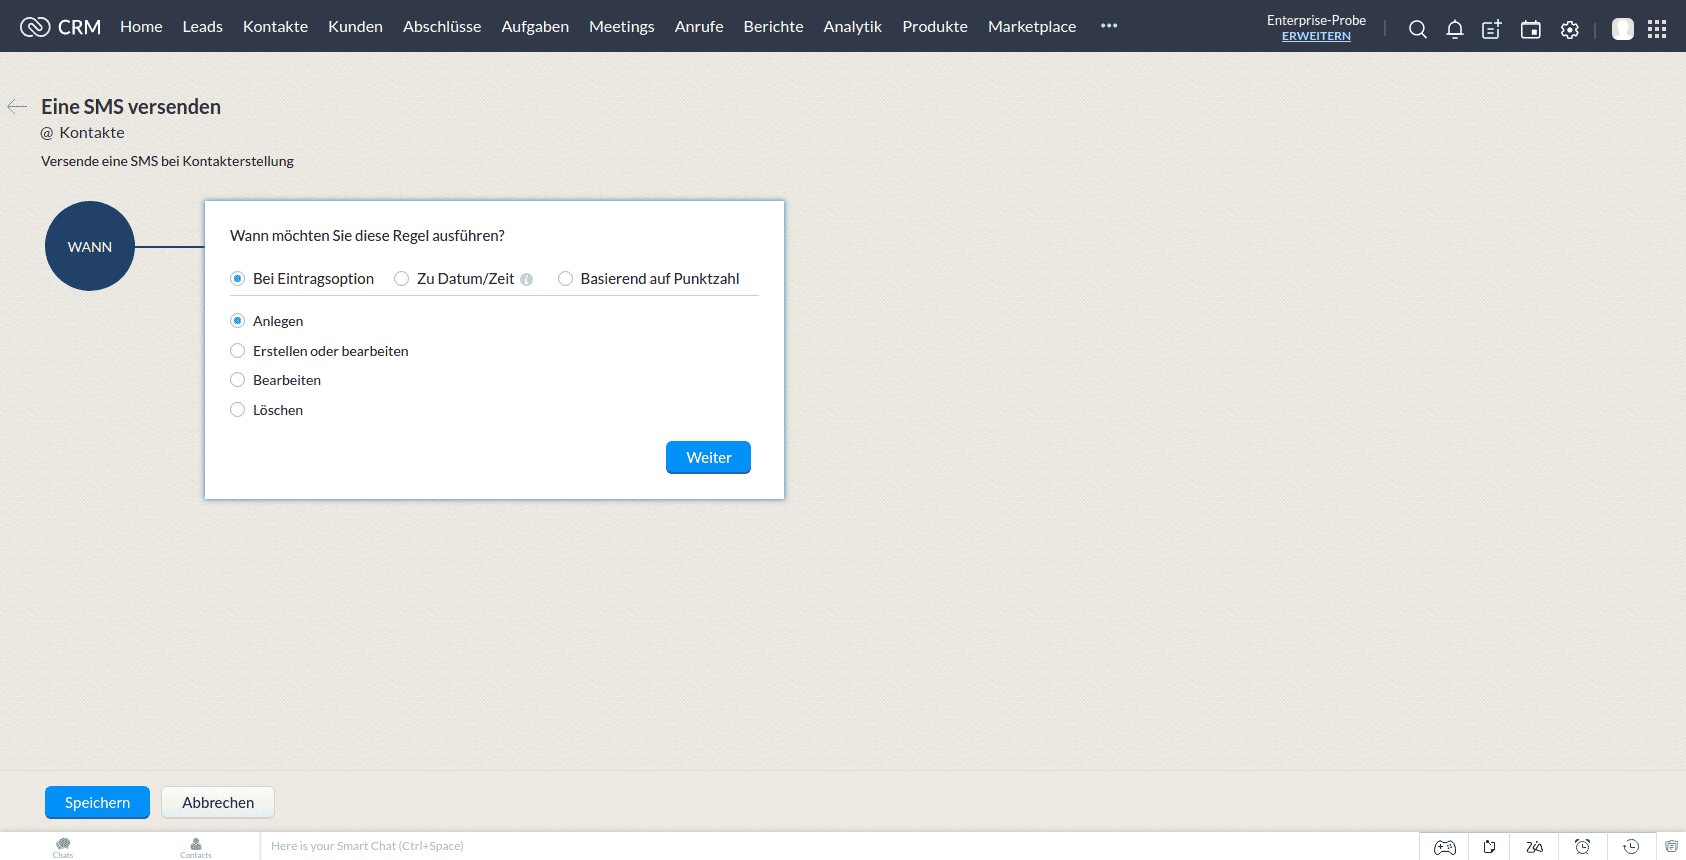
In this example, we describe execution at module creation. However, a workflow can be executed at many other times as well.
On entry option
This selection refers to a module entry. In our case, to the Create event of a Contact in the Contacts module. The following selections are available:
- Create
- Create or edit
- Edit
- Delete
To Date/Time
The following selections are available for this time-based selection:
- Time of creation
- Time of change
- Last activity time
Score-based
The following selections are available for score-based selection:
- Increased
- Decreased
- Updated
Once we have finalized the condition, the workflow looks something like this:
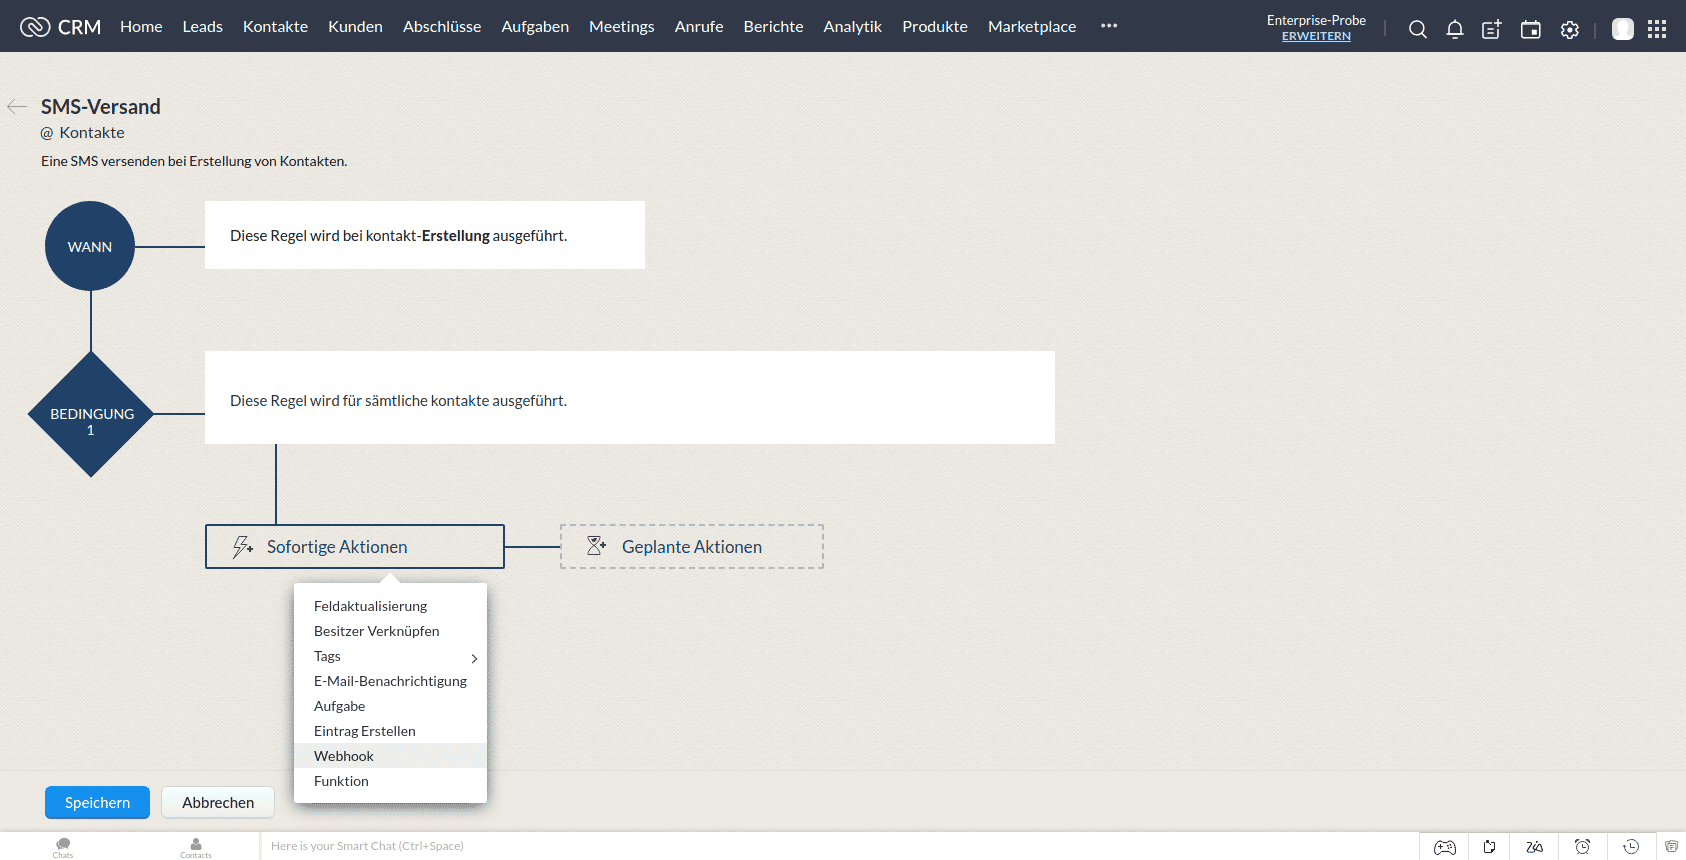
Step 4: Activate webhook action
By clicking on the button labeled Instant Actions, a submenu opens with the available action types. In our case, we choose Webhook. Clicking on it opens the webhook form shown in the following item.

Name
We assign a name to clearly describe our action. In this example, we decide to use SMS Dispatch.
Description
We describe our action. This field is optional, but certainly useful.
Method
This field should have the value POST.
URL for notification
In this field we enter the server address of seven. The value must be https://gateway.seven.io/api/sms.
User defined parameters
Here we define our interface key.By clicking on the green plus symbol a new line appears. As parameter name we enter X-Api-Key and at parameter value our API key must be entered. This one can be found in the customer area.
Body (main part)
As type we select form data.
Module parameters
Here we set the receiver number. We set parameter name to to. We choose Contacts as parameter type. We set parameter value to mobile.
User defined parameters
First we set the content of the actual text message.
Set the parameter name to text.
Set the parameter value to a text of your choice
This parameter is optional: if we want to specify a sender ID, we need to add another parameter.
If this is the case, we set the parameter name to from.
As parameter value we set the desired sender ID.
After setting the mentioned values our screen looks similar to this:
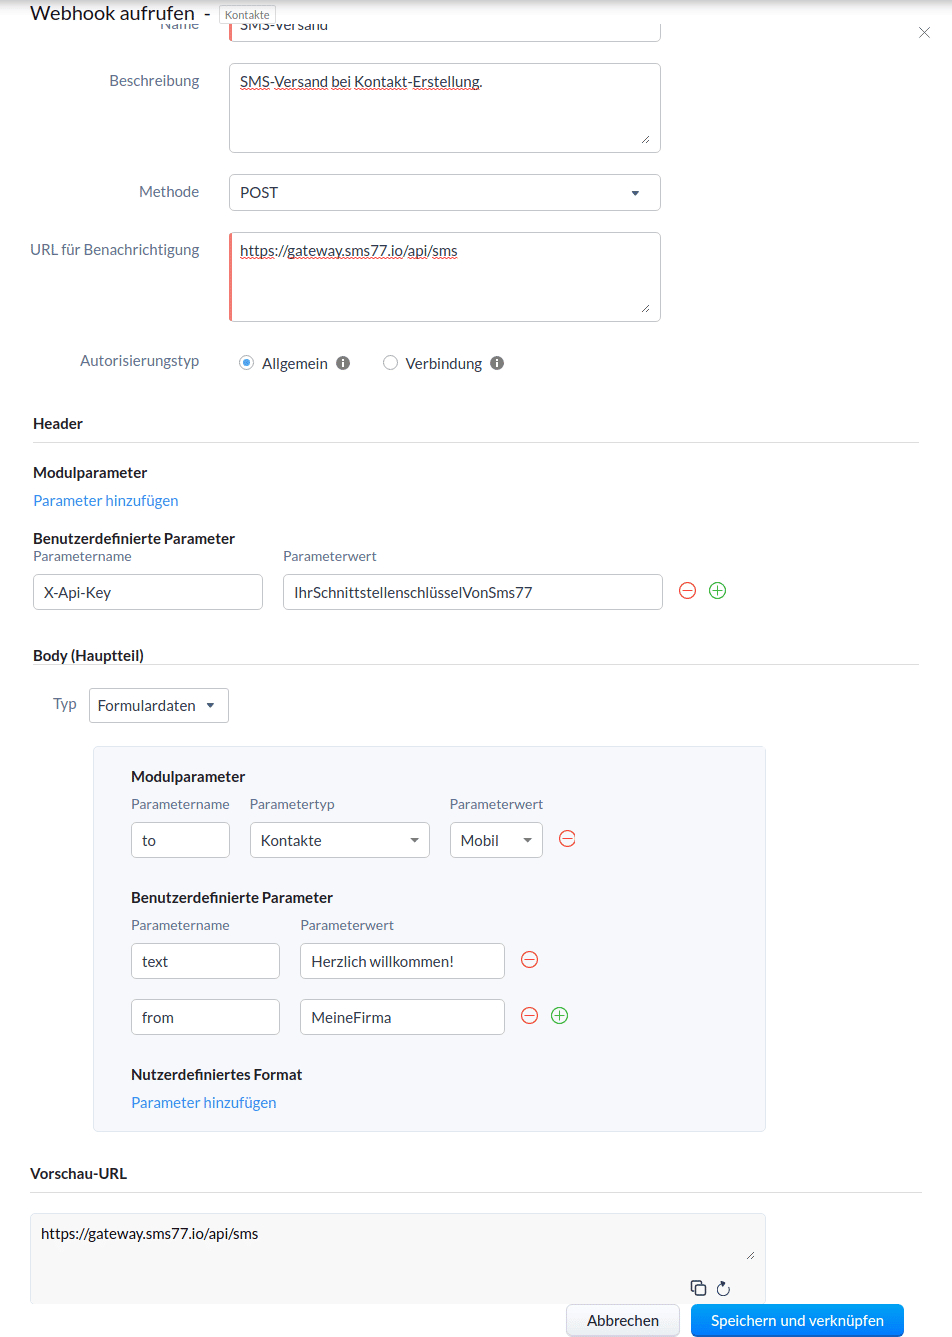
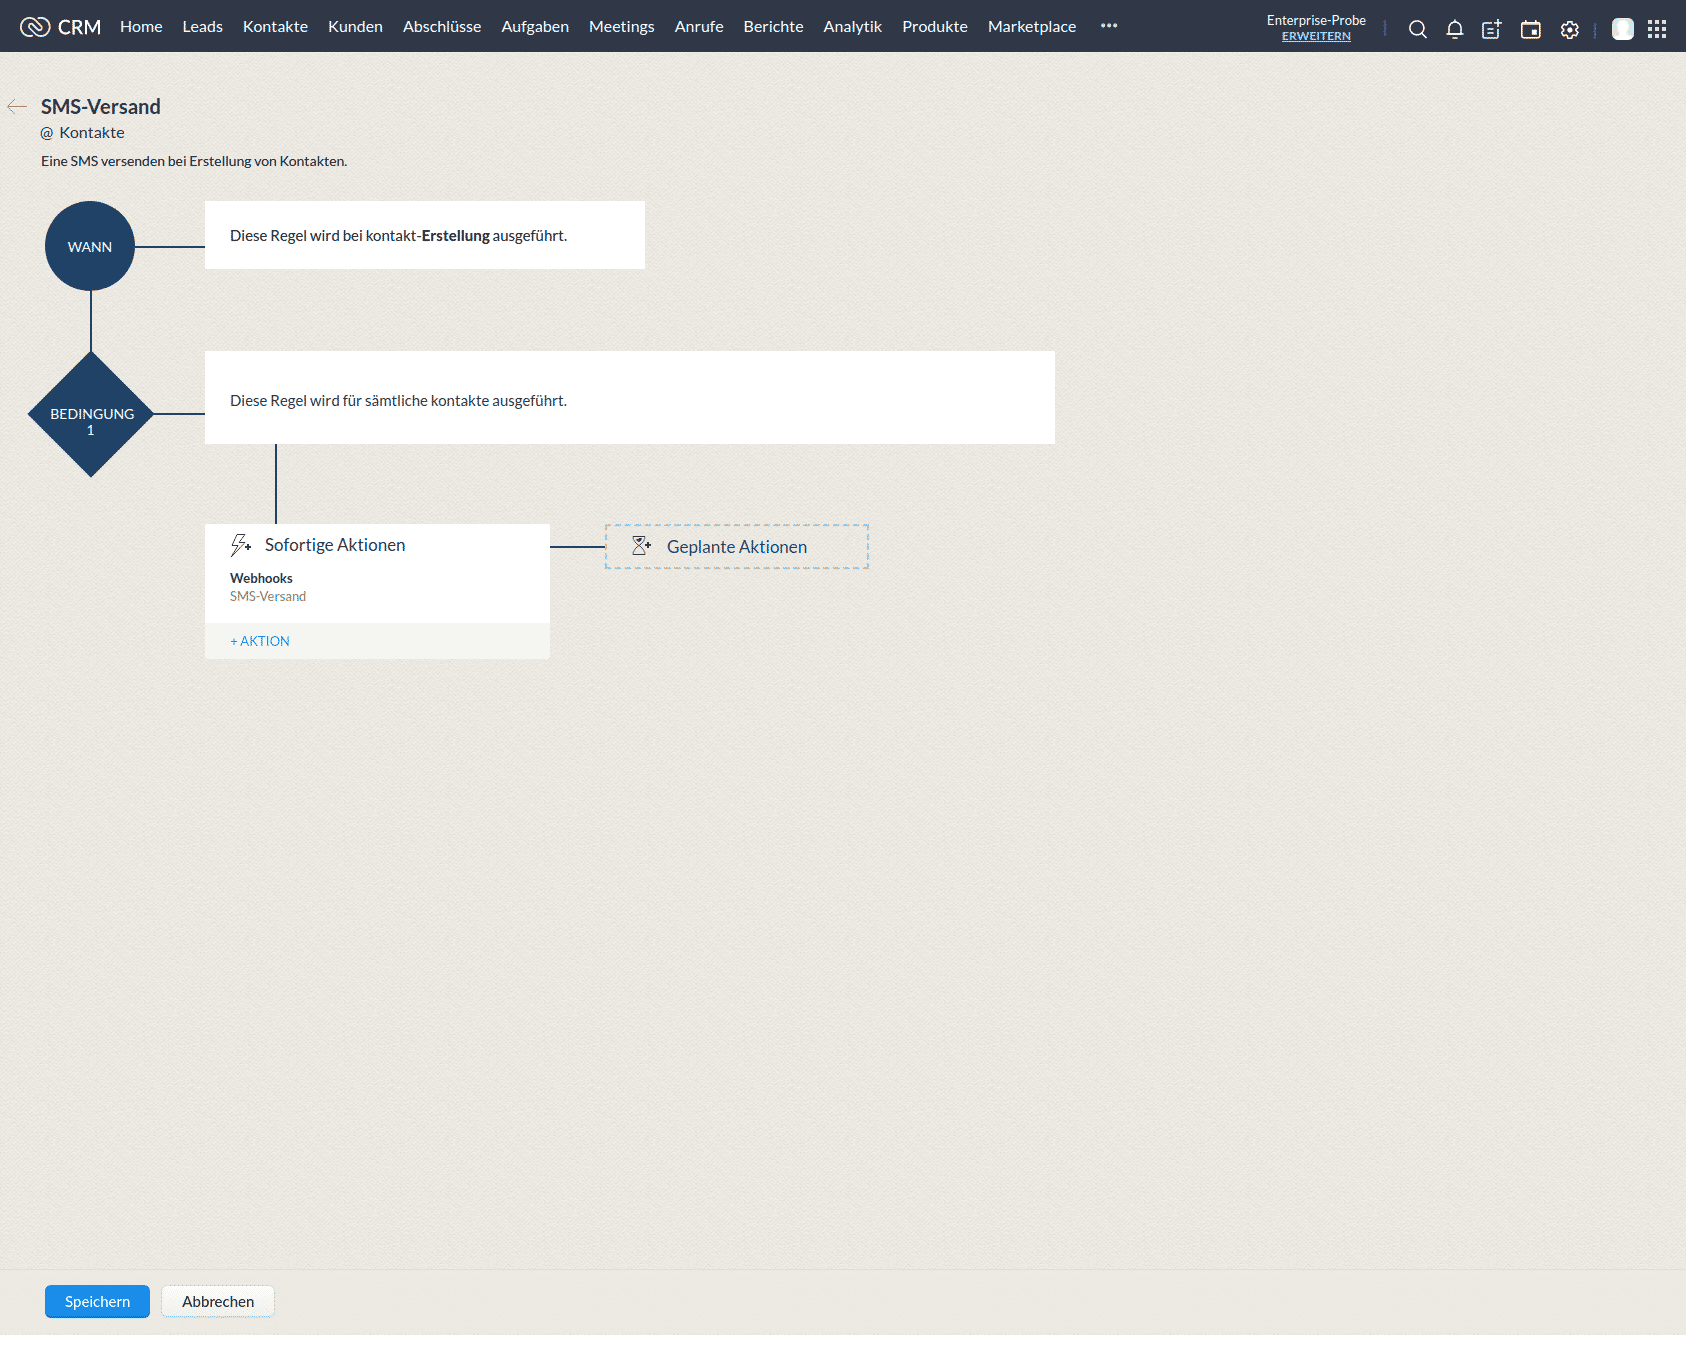
Now, finally, we need to press Save and link.
We have now completed our workflow and can press Speichern to return to the previous page.
Finally, we want to test the workflow. All we have to for this is to create a contact. If everything worked, this contact will receive an SMS to the stored mobile number.
Step 5: Test Workflow